

At first look the cheery yellow kitchen in our old house had it’s merrits—bright and sunny with solid wood cabinets—but upon closer inspection it needed some work. The cabinets needed rearranging for better use of the space, the paint everywhere was patchy and the floor was sagging. So we tore into it.

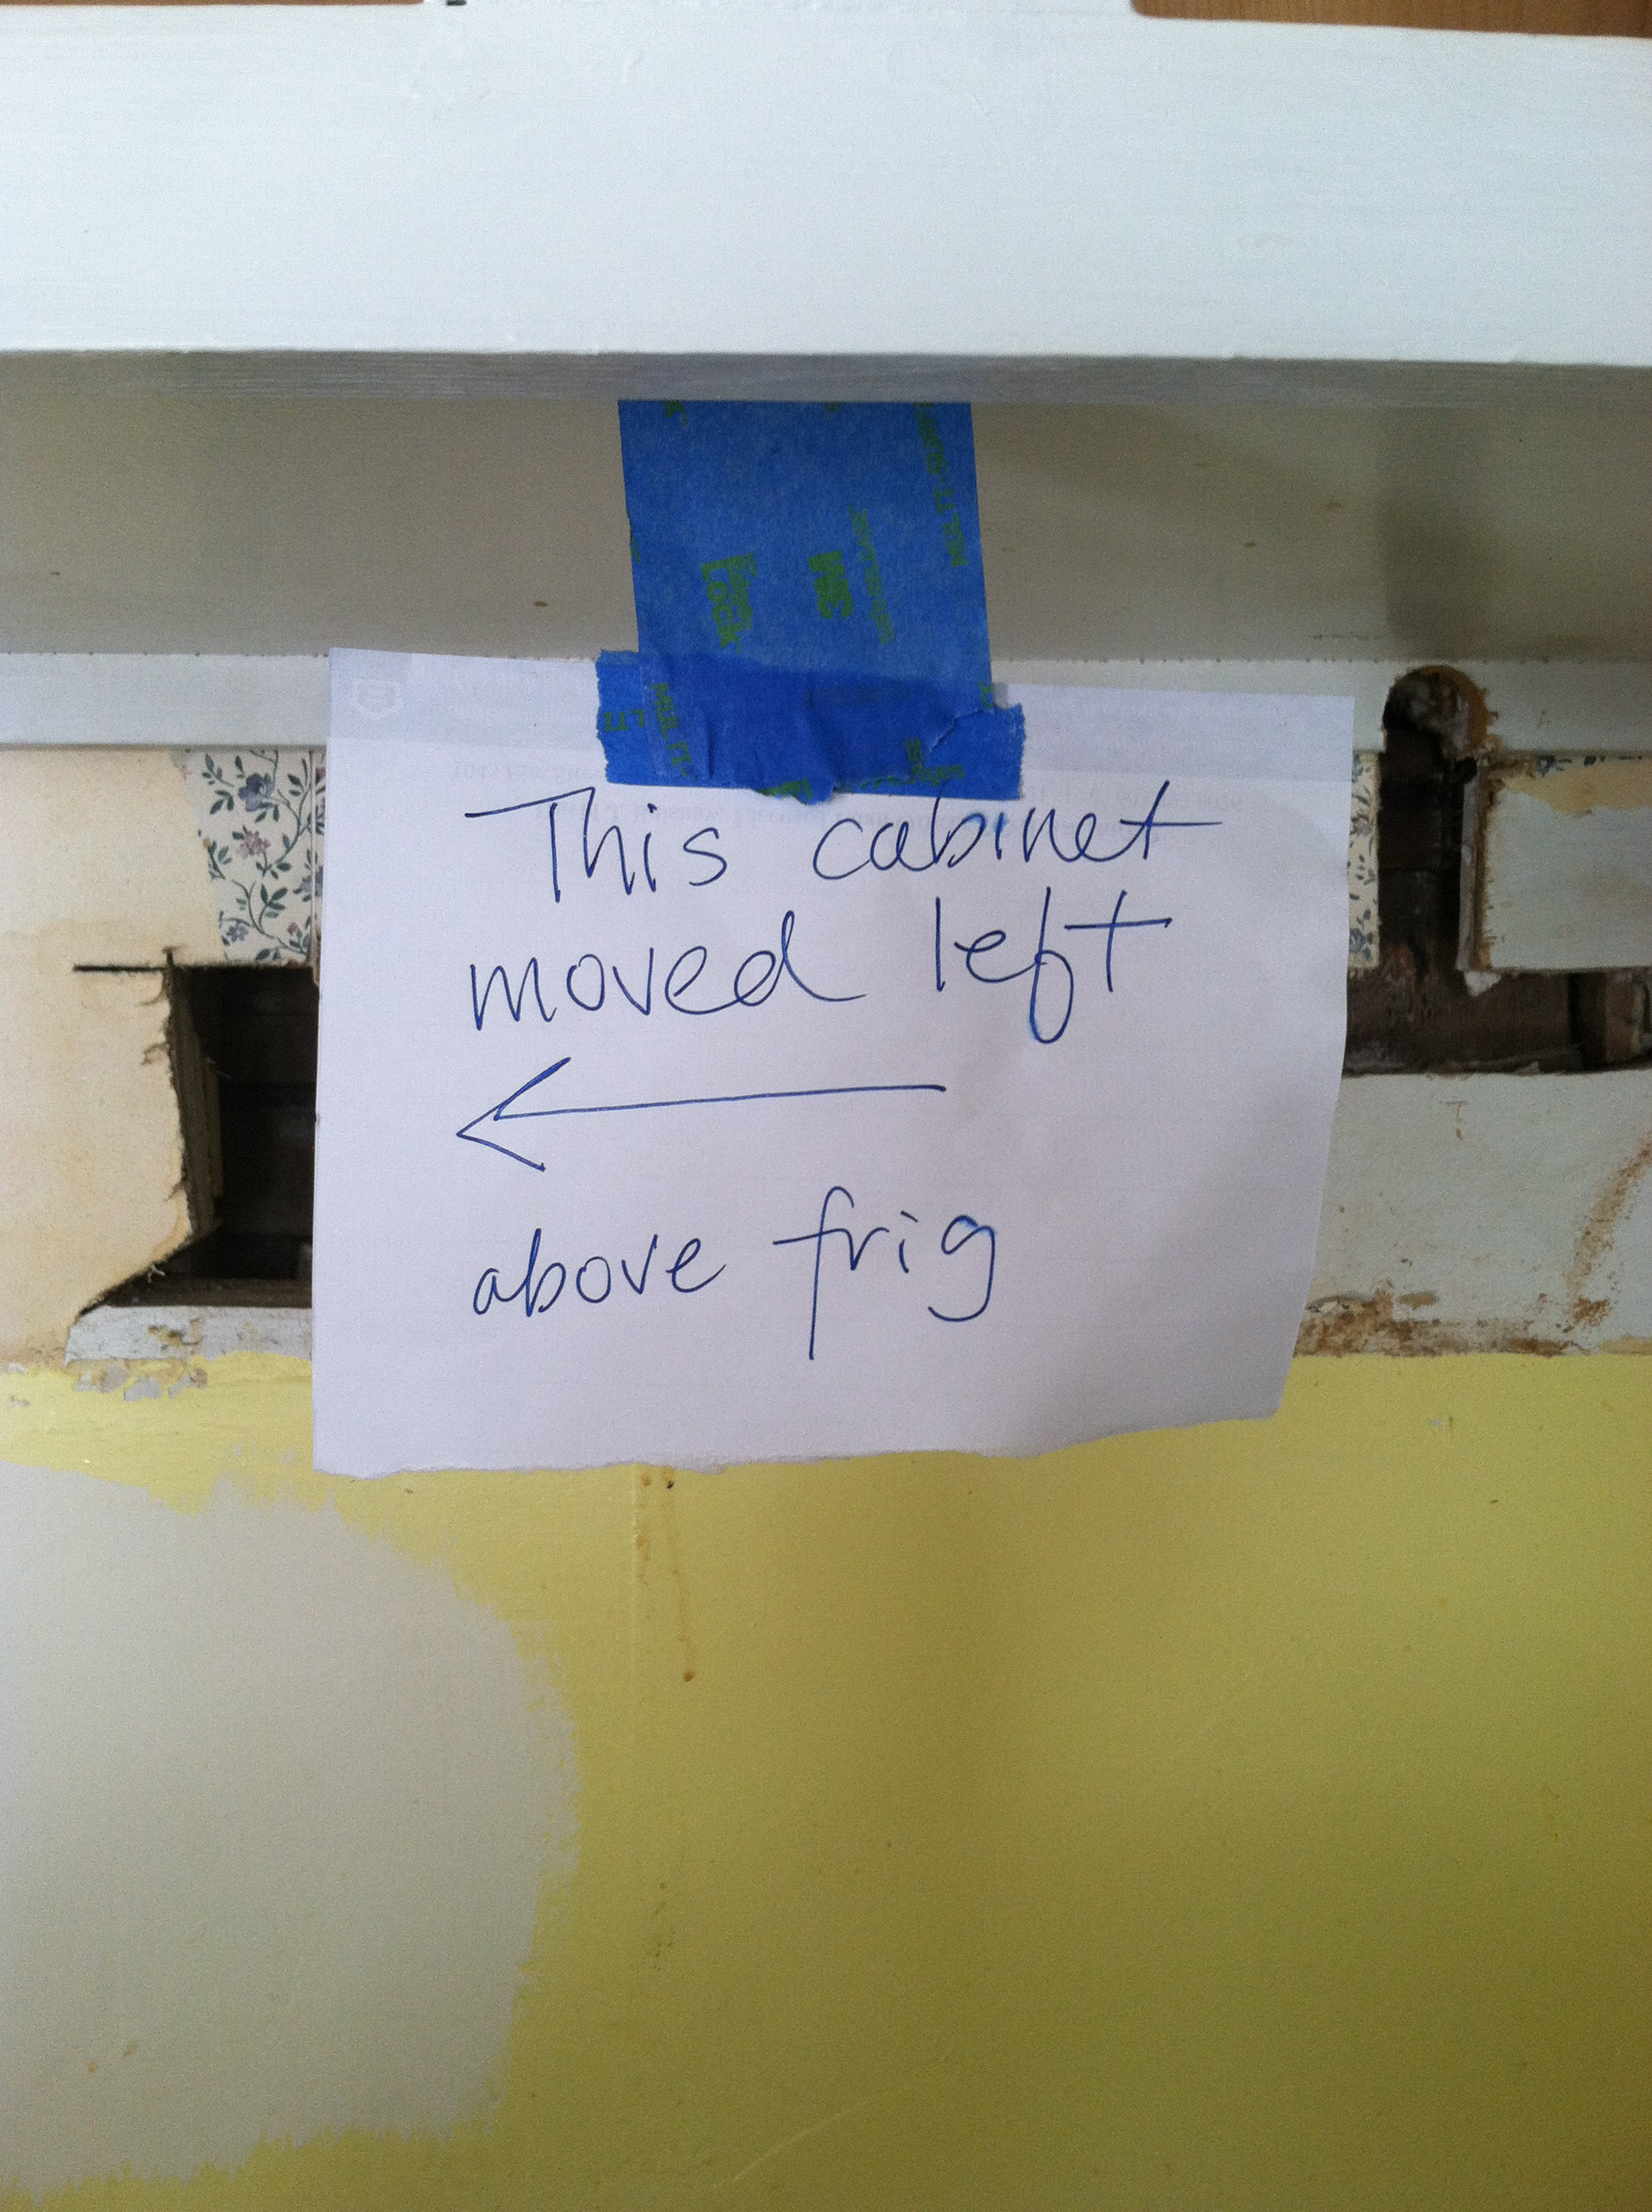
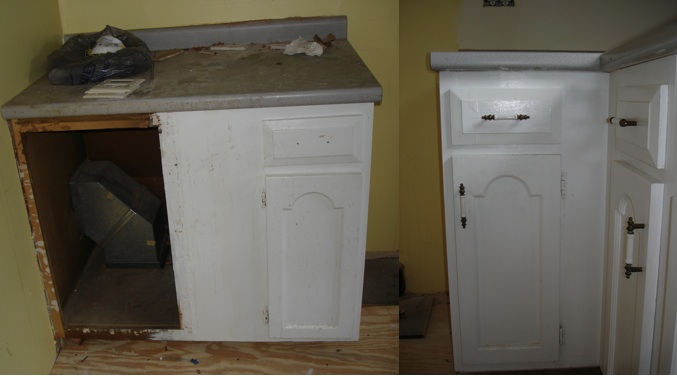
The initial plan was to move the stove (to where it is shown above) allowing for use of the previously inaccessible lower drawer & cabinet, then move that left-hand base cabinet (above) to adjoin the cabinet to its right making a new “L”. However, when pulling out that cabinet we discovered that it was not solid wood but instead particle board that had been crumbled away with moisture and critters. We dumped it.

The floor underneath was damaged and odoriferous from the moisture so we had to cut it out down to the original floor boards and start over. This gave us the opportunity to then level the floor which allowed for the installation of plank-style wood-grained vinyl to extend into the laundry room. Since this a rental property we followed suit, layering over layers. A true restoration would have gone down to the floor boards, gutted all and started over.

The paint on the kitchen cabinets was showing the layers of recent history—some drips, some beige parts, some white parts, some dark wood parts—so they needed to be done over.

With lots of “elbow grease” I first sanded all surfaces with a heavy grid sand paper to smooth it all then washed them with straight ammonia to remove kitchen grease & dirt rinsing really, really well. This is important for the next paint color to adhere. While the existing white paint matched the appliances perfectly, it was a gray-white and was a bit gloomy so I chose a clear based white that had touches of red and yellow in it, a much easier white to live with. Every paint company has this style of white usually labeled “designer” or “decorator” white. The clear base allows for this tone where a more opaque base contains lots of titanium as a thickener which is by nature very gray.
There was a decorative element circa 1930 above the sink that also got painted. An opening in the woodwork joining the two upper cabinets where once must have had glass, held a 1960’s yellow embossed plexiglass panel that was painted over. I removed the panel and installed a $2.00 rain gutter protector letting the light shine through from the new LED strip we installed. Since a kid, hardware stores have been one of my favorite places for inspiration. Wander the isles and look for things that you can repurpose.


I painted the walls of the room the cheery cream color as described in the # 4 post and painted all window trim, doors and baseboards in the cabinet white. To add a little style and give a nod to the Victorian era when the house was built, I installed faux pressed-tin as a back splash to the stove wall then accessorized to that color by changing the cabinet handles and drawer pulls to brushed nickel. A new range hood in brushed nickel installed over the new stove location plus a little kitchen cart I found at Abode in the same tones parked in the “L” area completed the counter space. I love the finished room! What about you?


Looking Great, nice work both of you…………
Glad you like it; thank you!
Very attractive and inviting!
thank you.:)
Wow, what a lovely facelift, Jane!! 🙂
thank you!
Gorgeous! Can I move in?:)
Flattered as I am by your comment I am pretty sure that most people would love to move in to YOUR house! 🙂
You did a fantastic job! I love the gutter screen…very clever.
Glad you liked it Karen; coming from one creative person to another!