

Carpeting is never a good idea in a rental property. Think; potty training, pets and exuberant beer drinking on game day. It all gets wicked away to settle down in the pad—yuk—and when it’s not our own home… So in removing the carpet from our old house we had yet another opportunity to uncover some of its layers of history then reinvent its floors.


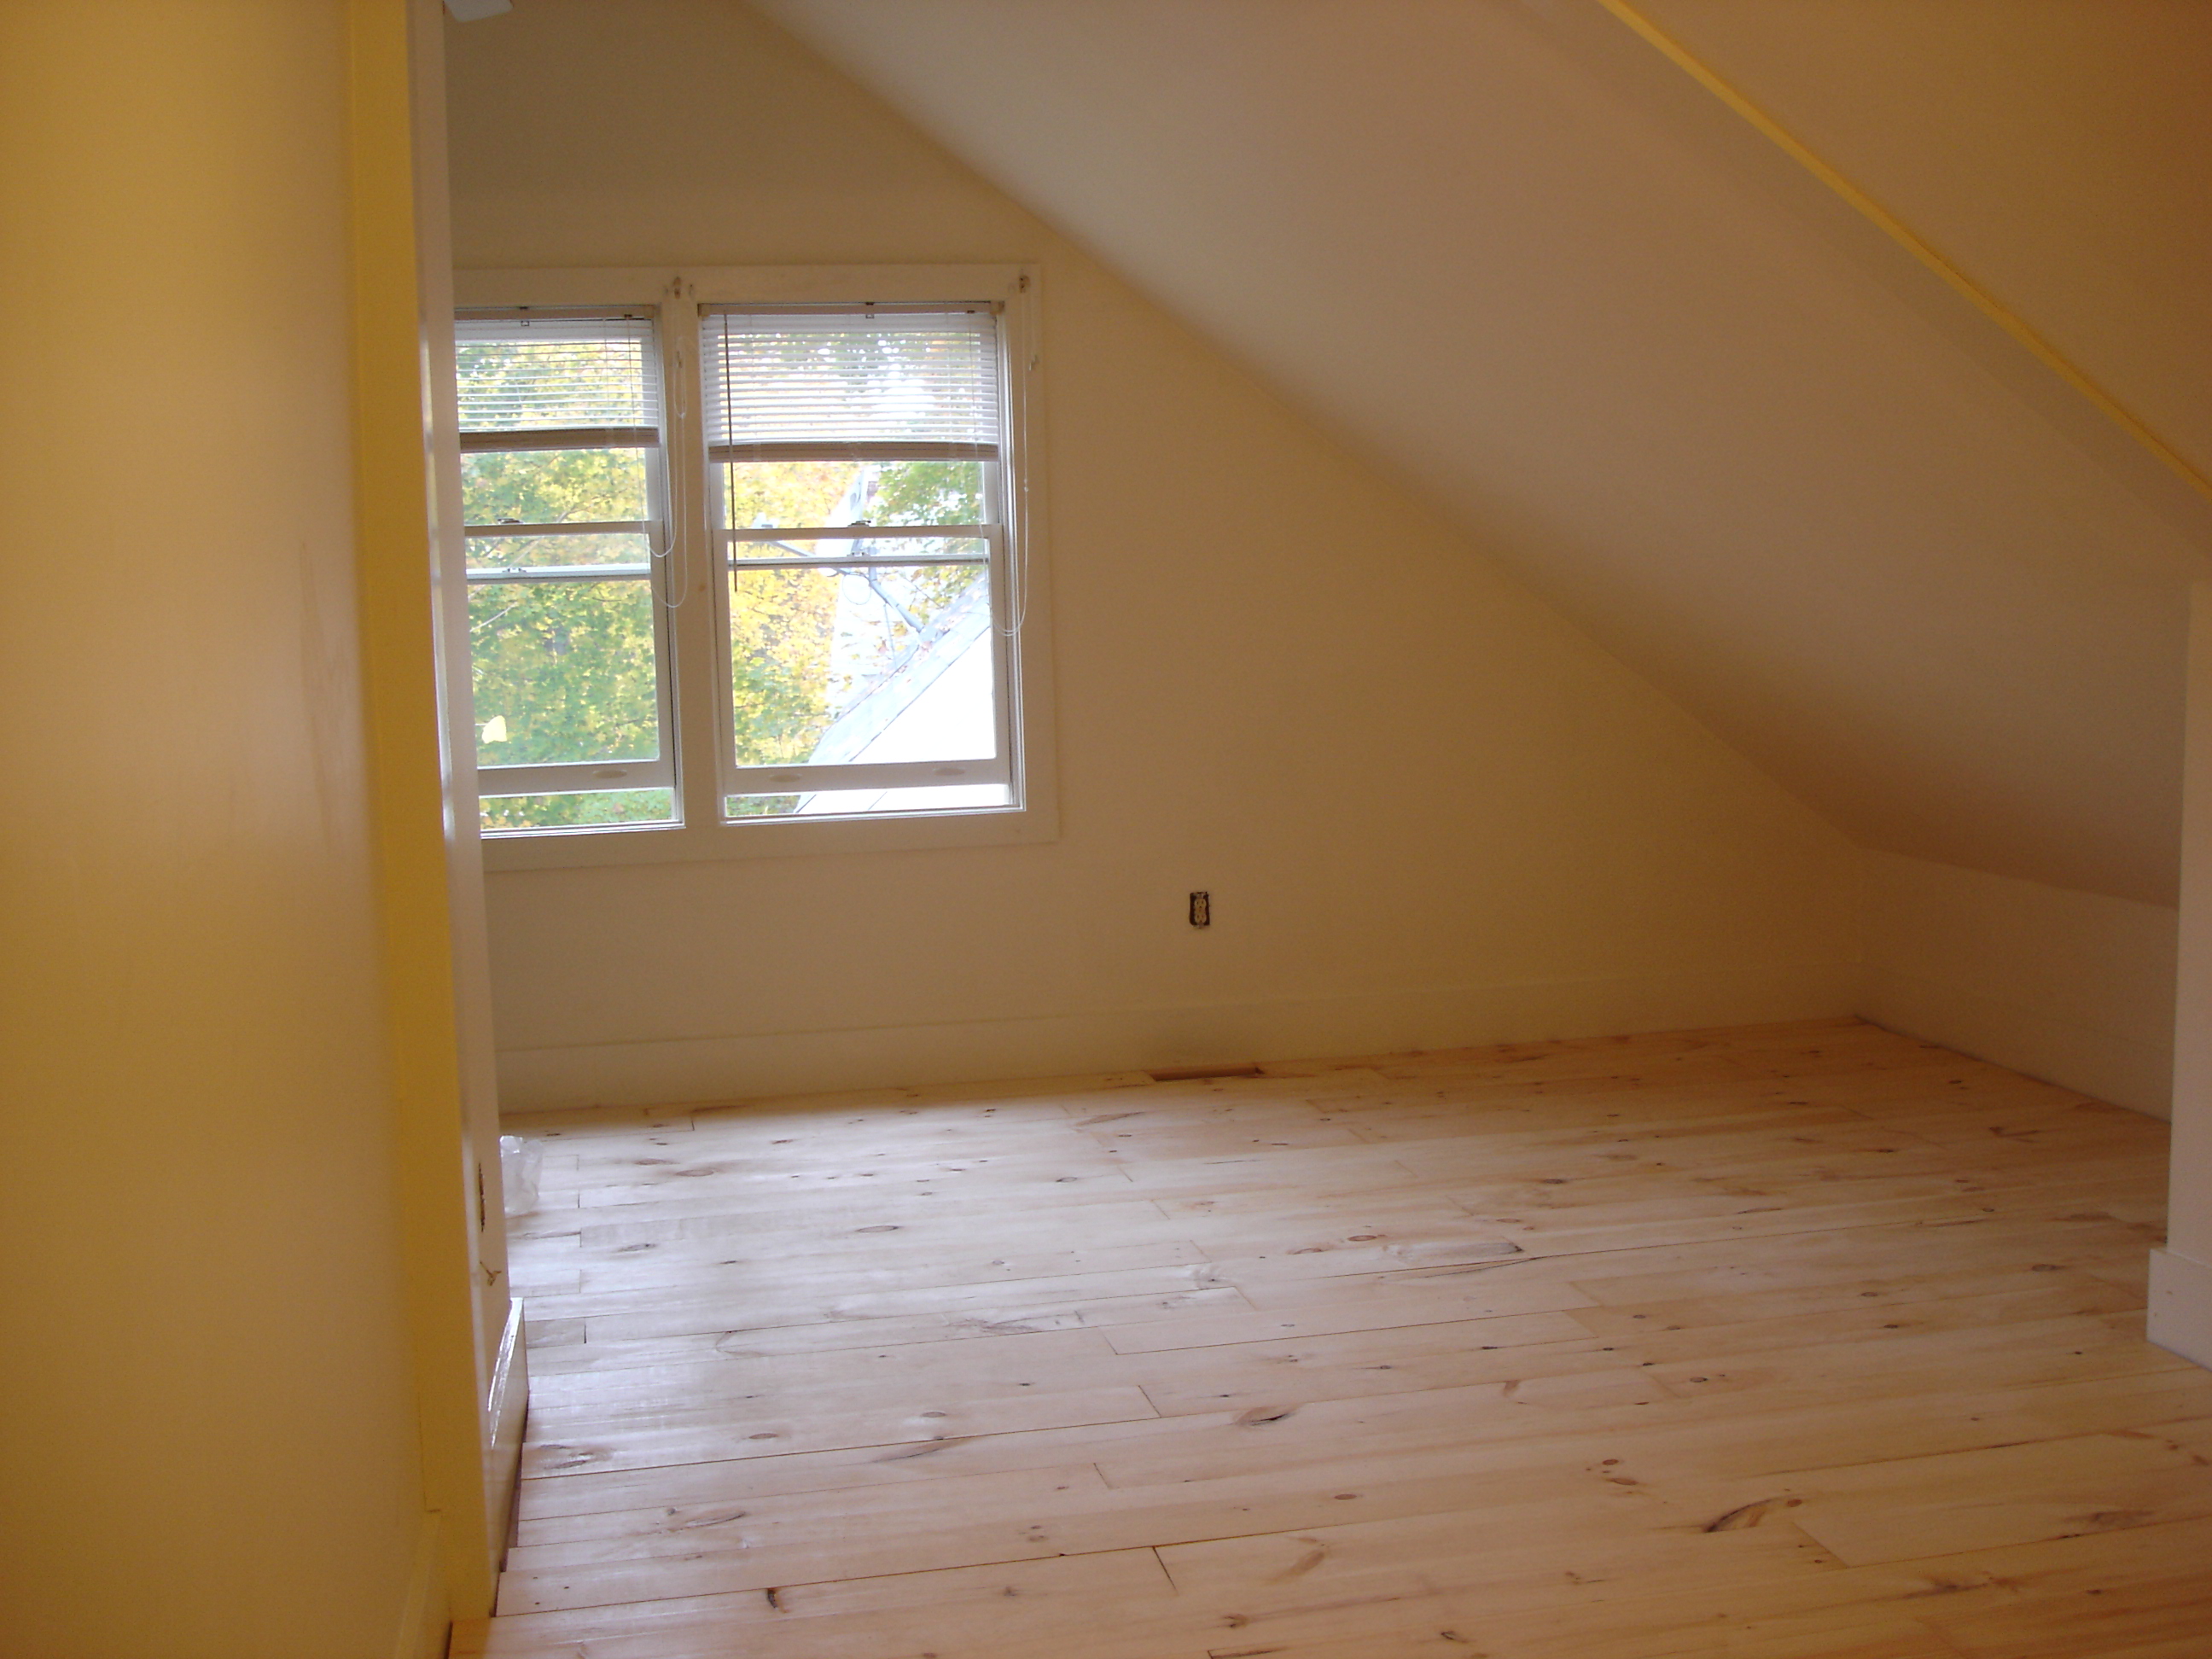
The floor in the larger upper bedroom had two levels; a sagging part that came with the original 1880 house and a newer solidly straight floor via the modern 1990 addition. With carpet unifying the two spaces it made for a gentle slope but without it, the difference was too dramatic. So we made a decision to remove the old floor [salvaging the wood for another project], to level the space with shims and new joists then lay a new pine floor over all mimicking the original pine flooring elsewhere in the house.


I decided to stain the floors darker to match the depth of color in the adjoining spaces. I used a water-based paint/stain (see my formulas below) that I mopped on with a painting pad on an extender 2 boards at a time. I let this dry over night then topped with 3 coats water-based polyurethane applied in the same method.
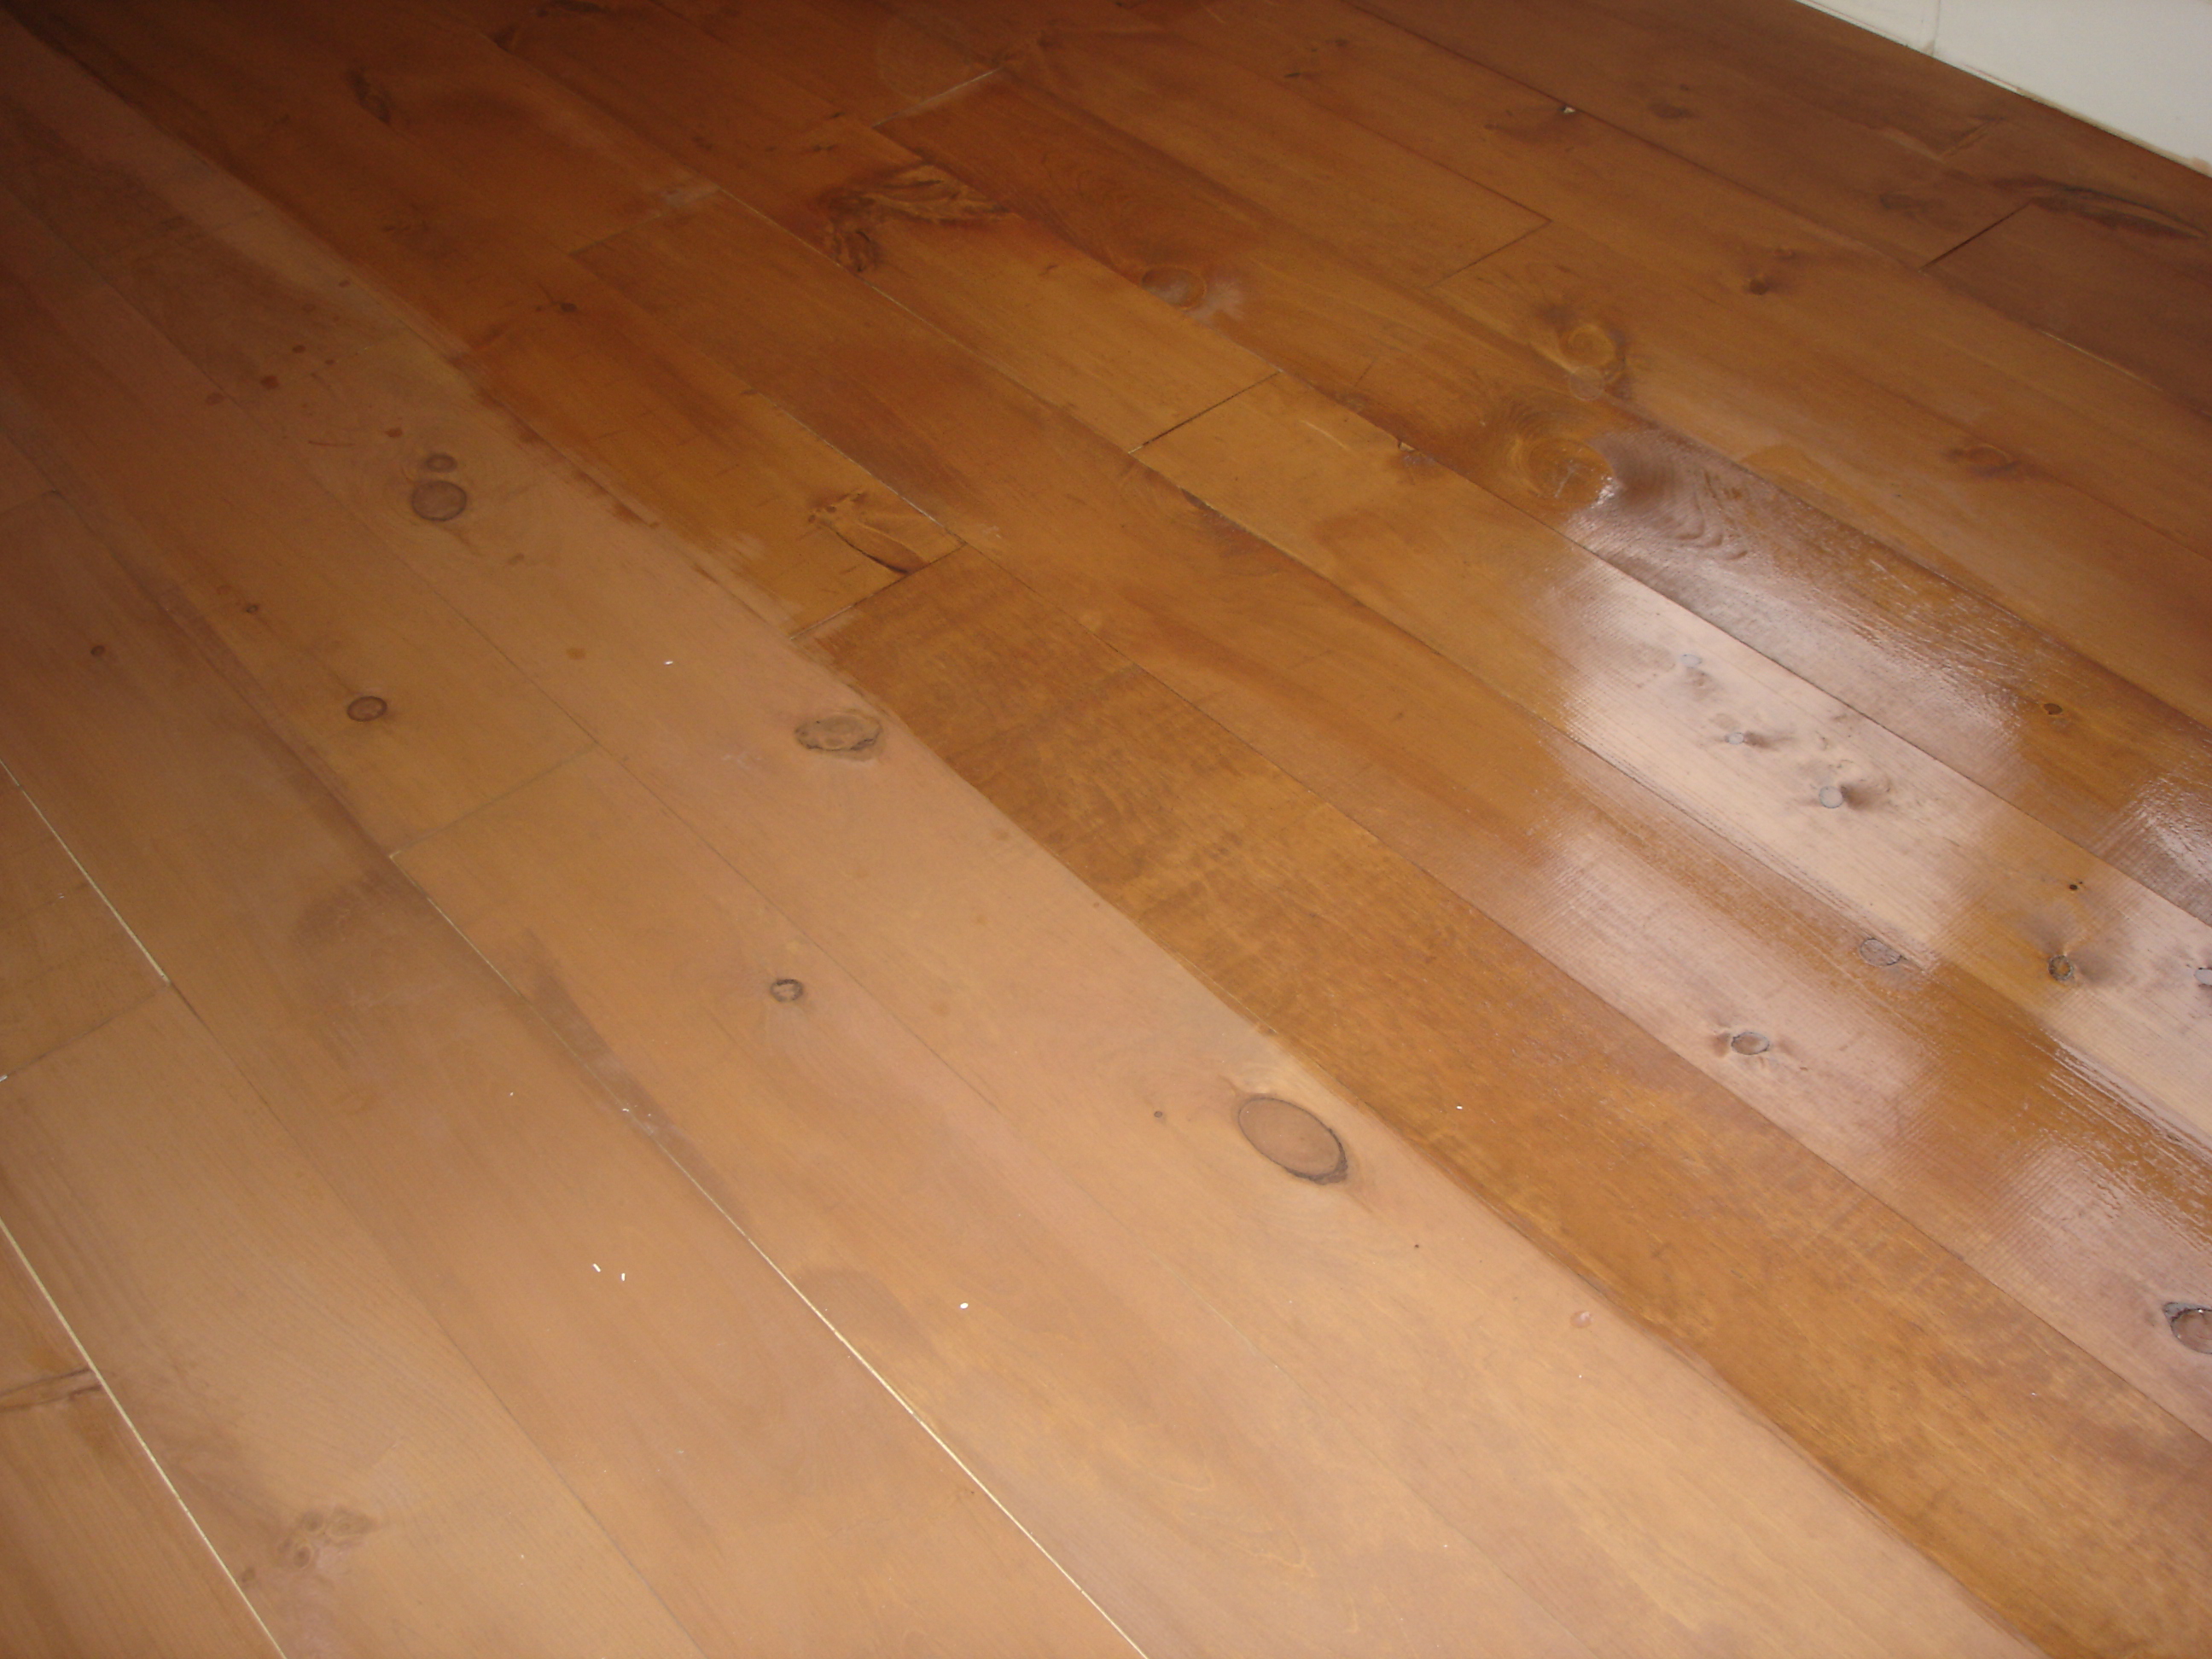

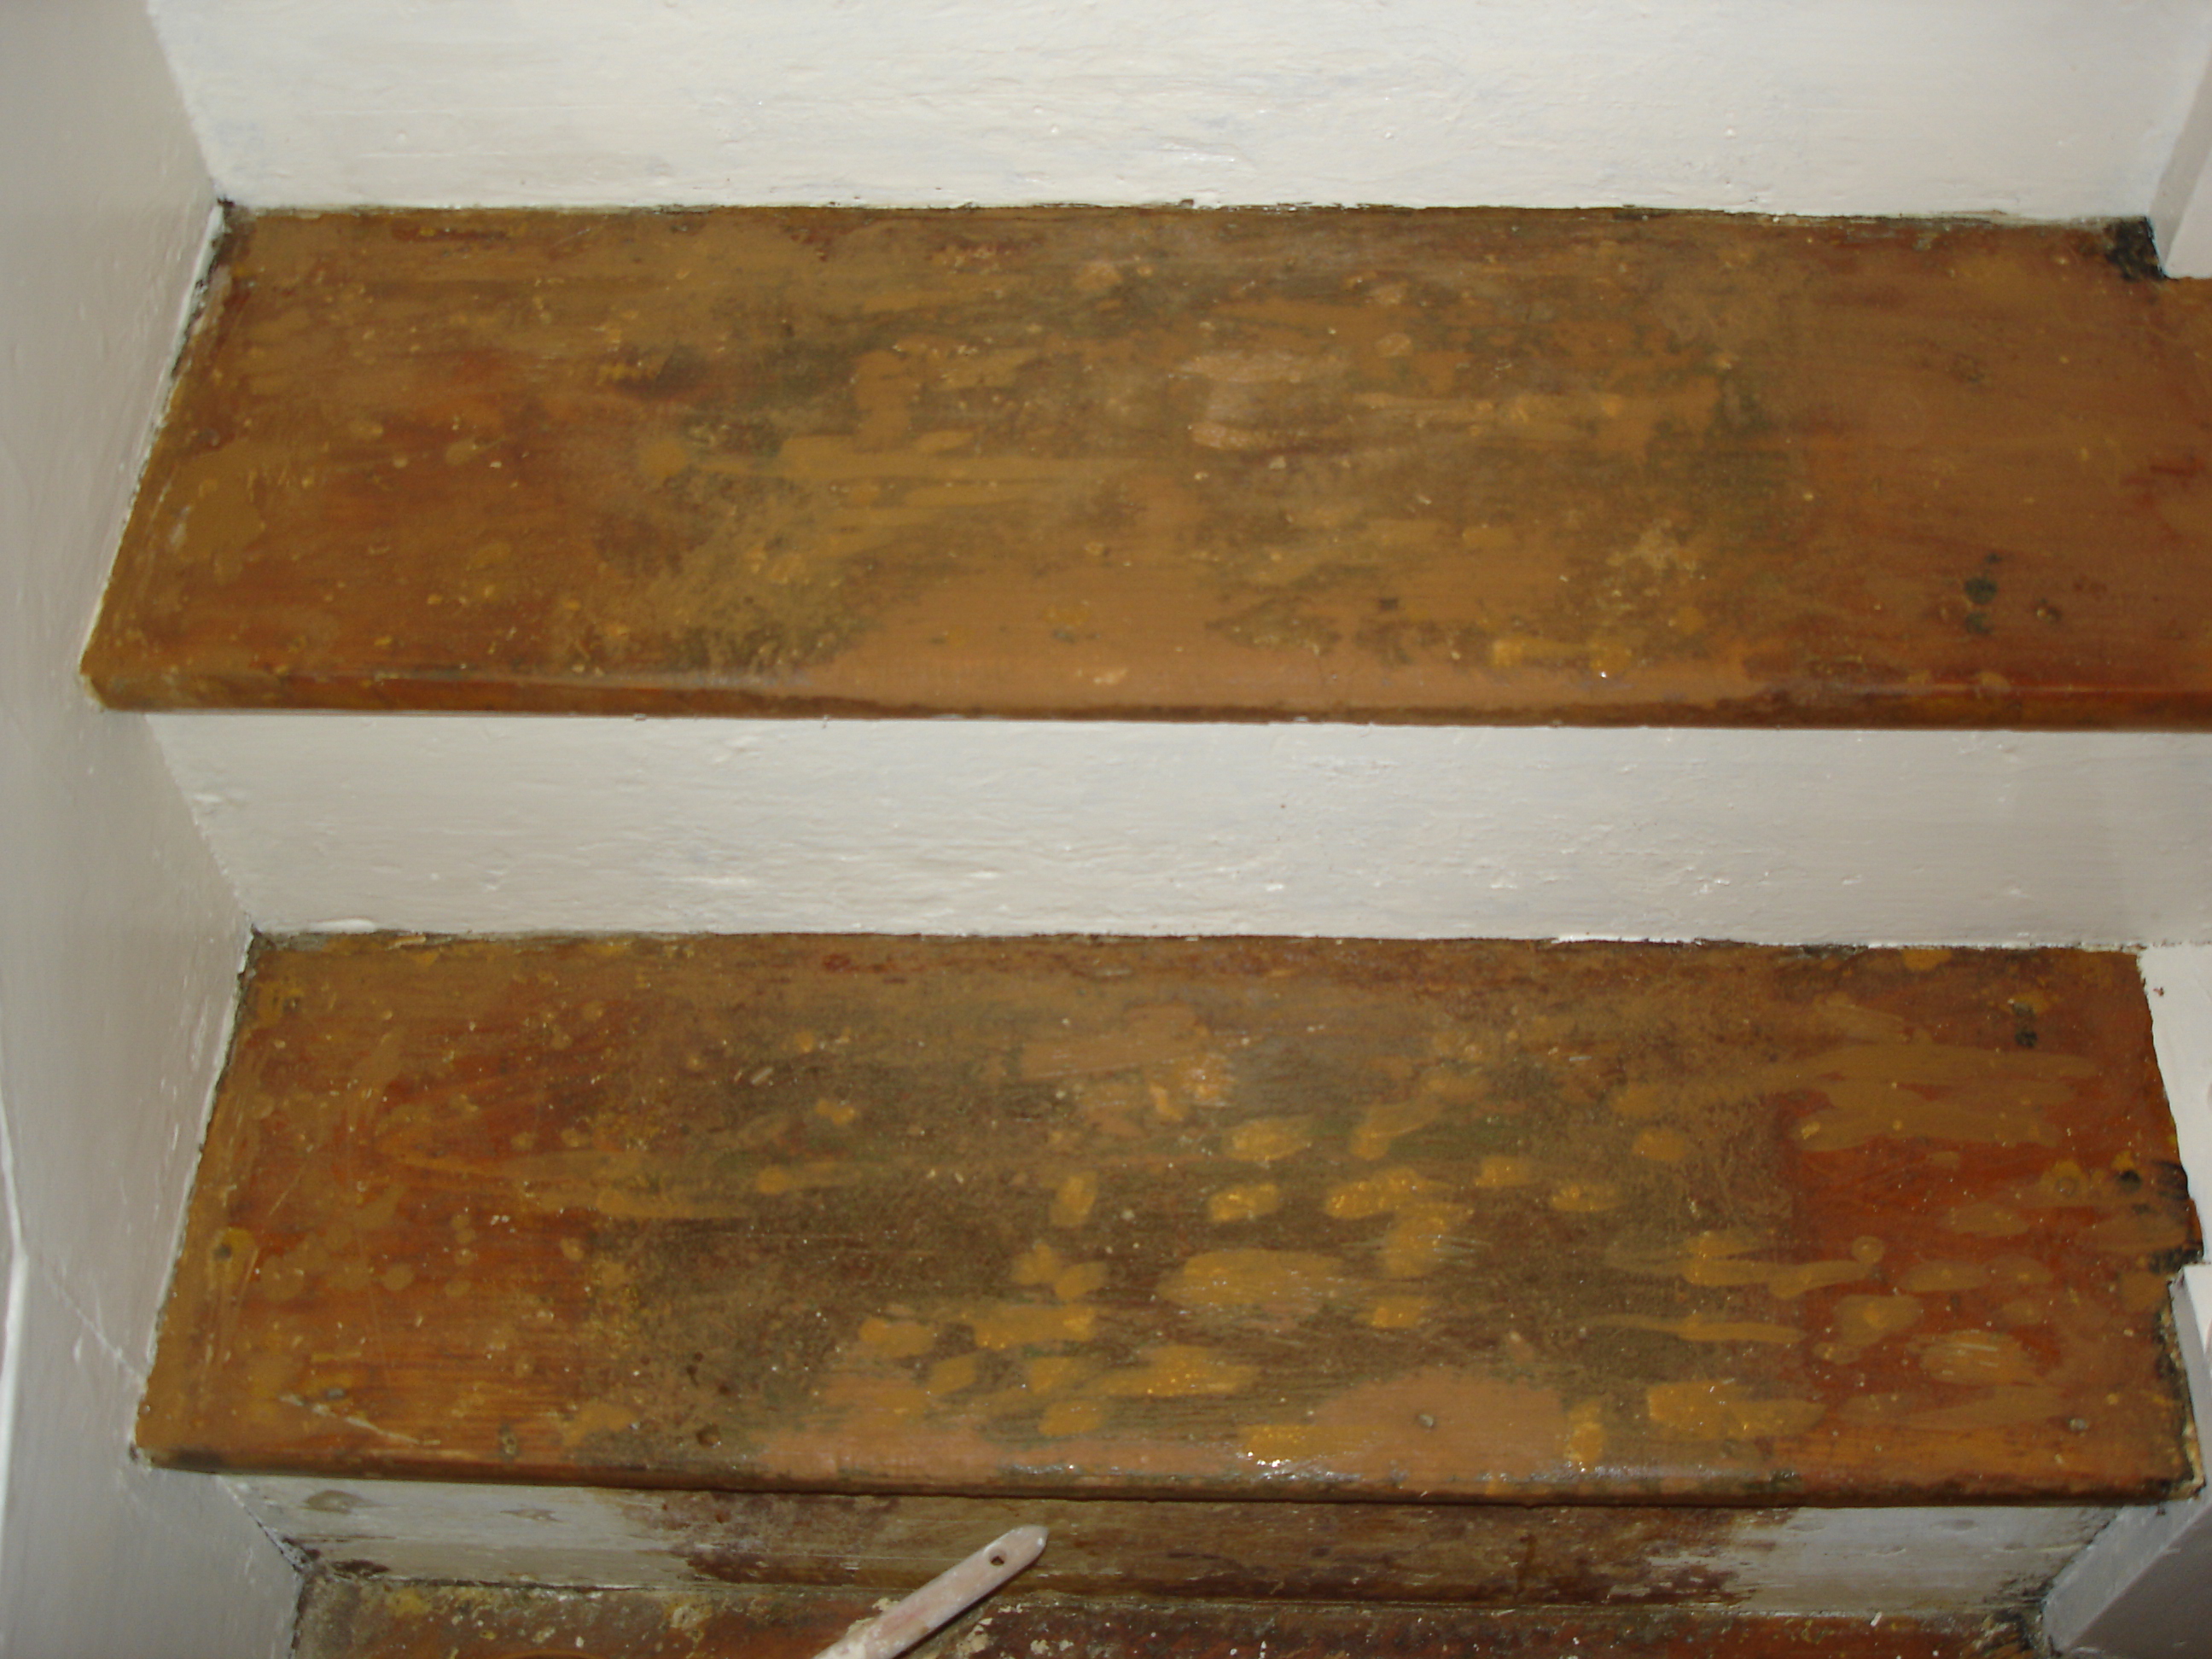
In the smaller upstairs bedroom those original floors were gorgeous and not saggy; wide yellow pine aged by sunlight with remains of a coppery stain/paint. All we wanted to do was spruce them up and show off that color. First, I spot sanded away the obvious paint splatters then retouched the scrapes with my paint/stain (see formulas below) then topped with a several protective coats of water-based polyurethane. The small hallway landing at the top of the stairs outside the two bedrooms and bath had seen many renditions over the years. It looked like the stairwell shown at the top of this post with layers of paint, paint splatters and adhesive plus remains of that Victorian brown floor paint that was so popular in-the-day probably edging a carpet runner. There were boards that had been replaced so the wood was not the same every inch either.

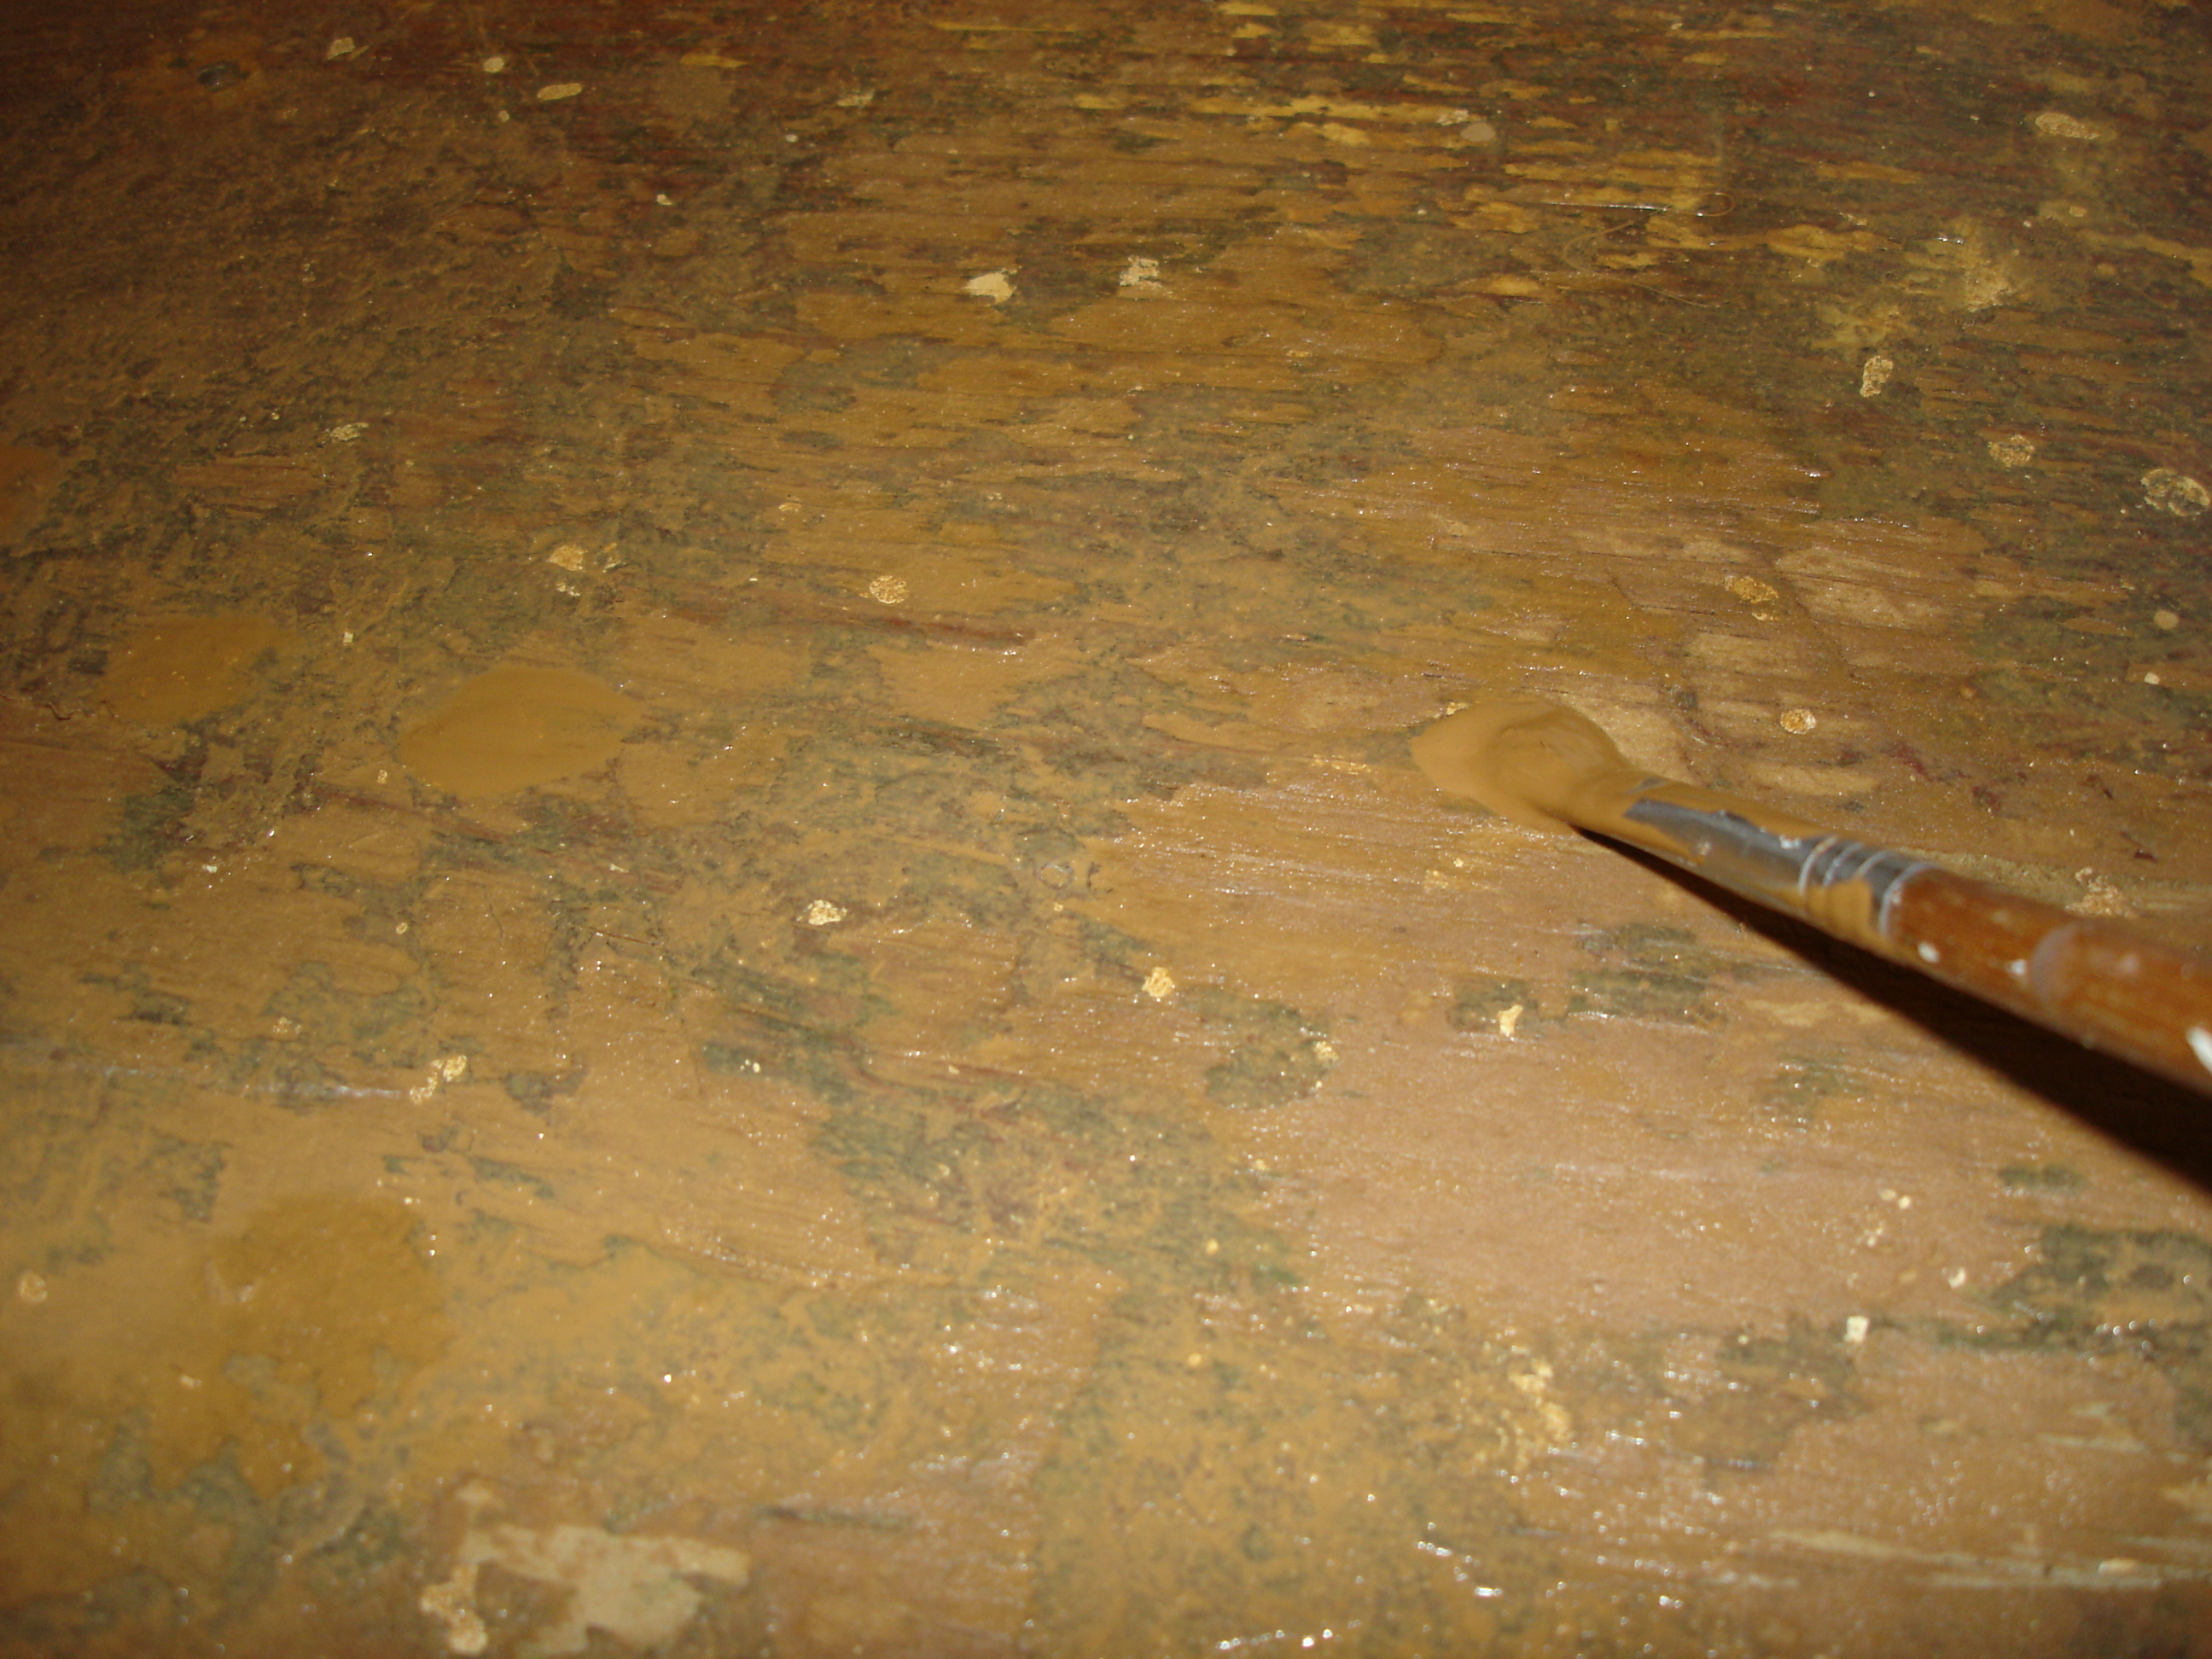
I wanted to keep some of that history so decided to use an orbital sander to smooth it all out then patch in paint/stain on the bare spots, retouch-painting over the white paint drips & toning down the darker brown with solid paint then glazing over the entire surface with a harmonizing color (see formulas below). This also got 3 coats of protective poly on top.


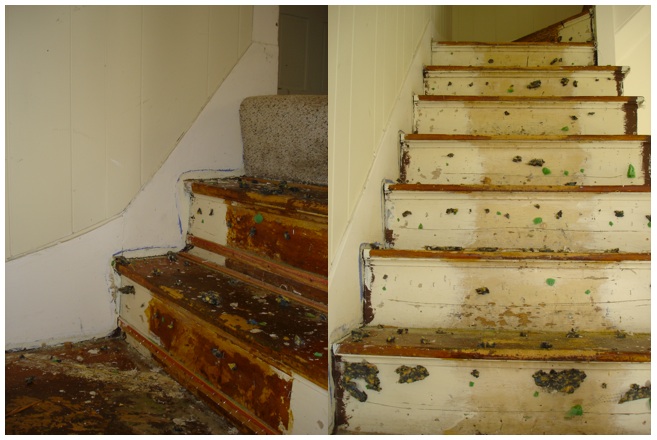

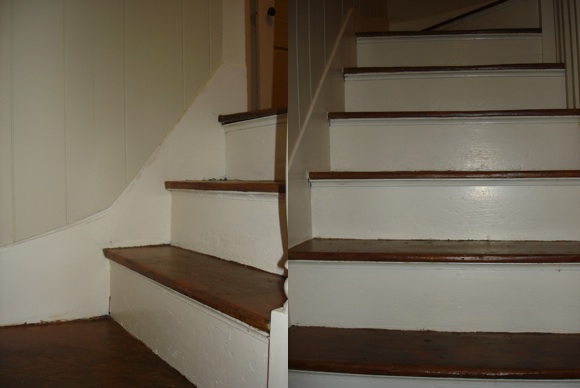
The stairs received the same treatment as the hallway additionally painting the risers that lively cream painted throughout the rest of the house.


In the lower level living/dining room luan had been laid over the original floor boards to prep for carpeting. So sad, the “fish-hook” style ring nails every few inches ruined those time-worn floor boards so again we made the decision to just go over the space with new pine to mimic those small areas of remaining original boards. Adjustments had to be made at the front door since the new floor was higher.
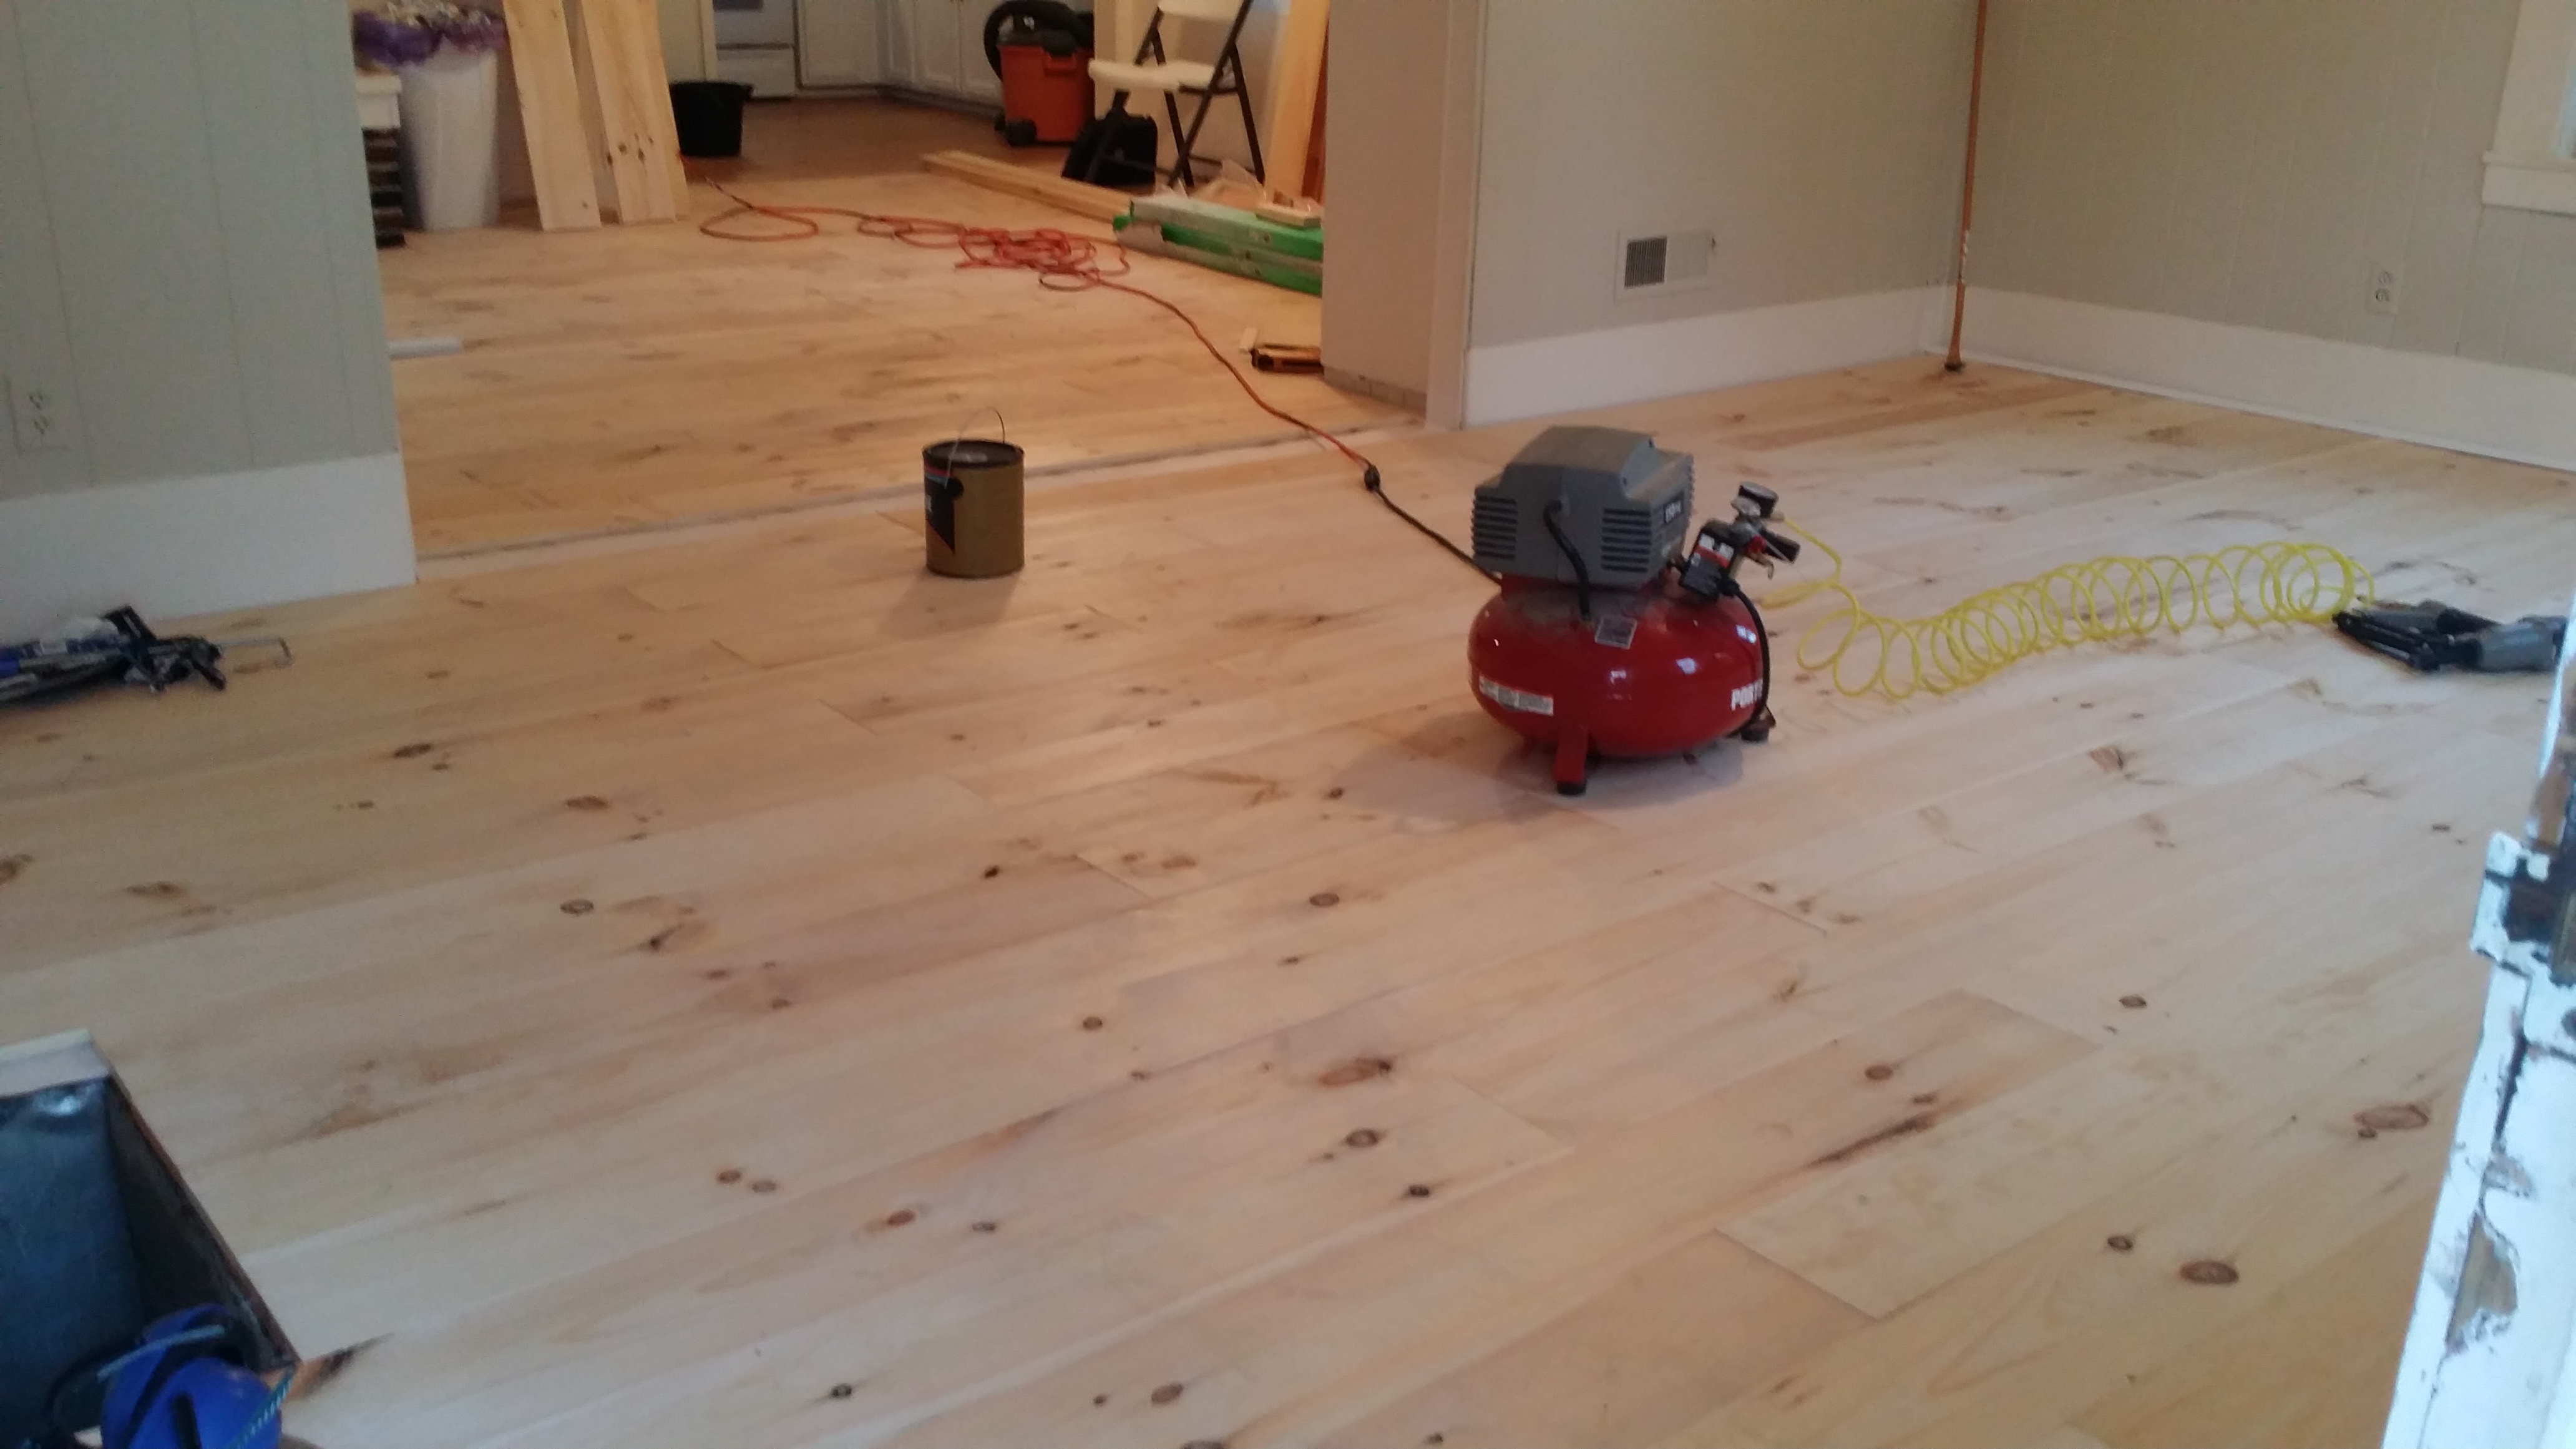


Because the wood-grained vinyl strip flooring David laid in the kitchen was a lighter color, I decided that this adjoining floor should be lighter as well rather than dark like upstairs. I mixed a lighter paint/stain (see formula below) then again we applied 3 coats of polyurethane over that.

STAINING NOTE: For a purist or traditional restoration painter, only oil-based stains would be used on wood, especially old wood. It sets in, does not lift the grain and adheres really well. However, like many people, I am highly allergic to the off-gassing of these alkyl paints. Therefore, through the years I have worked out water-based formulas that are not as sensitizing and wear fairly well. In this old house, we expect that tenants will mar the floors adding to the character and creating more history.
STAIN FORMULA: 1 part completely flat wall paint (preferably not “scrubbable” and definitely not “flat enamel”) to 1-3 parts water. Mix thoroughly and keep mixing through out application as the granular pigment will want to settle. Pigment is pigment and products only differ by their bases that suspend it.
Small bedroom, original floor boards: Pratt and Lambert Roxy Brown mixed 1 to 1 with water for retouching.
Large bedroom, new flooring: 1/2 Pratt and Lambert Roxy Brown and 1/2 Pratt and Lambert Brunette mixed with 2 parts water.
Upper hallway: Pratt and Lambert Brunette used full strength to tone down original dark brown paint then mixed 1 to 1 with water for bare areas then rubbed out. Pratt and Lambert Roxy Brown used full strength over white paint splotches then mixed 1 to 1 with water to rub over the whole area.
Staircase: Pratt and Lambert Cedar Chest used full strength over white paint splatters and mixed 1 to 2 parts water brushed over everything strategically rubbing out the areas where original paint/stain remained.
Downstairs living/dining room: Pratt and Lambert Pinecone Tan mixed 1 part to 3 parts water then rubbed out.

Really coming along nicely, Jane!!
Thanks! House actually done last night but slow on the posts. Look for more next week….
Hi Jane and Dave – Great to catch up with your house project. It looks great.
Thanks Deb!
Why don’t you just become strictly an interior designer for Peat’s sake! I’ve always been blown away by all the knowledge and talent in that noggin of yours. And I’ve known you for a very long time Sis! 57 years if I’m not mistaken. Can’t wait for the next batch of photos. GREAT work!
Niña
Ah shucks sis. 🙂
You need your own TV show! I am amazed and insured.
I meant INSPIRED. 🙂
Thanks Jill! It has been a whole lot of fun. 🙂
Hi, Jane
Looks great… So talented with everything you do. Love seeing your work..
Oh thank you Trish! I appreciate you taking the time to look at the posts and then comment. 🙂