

“How long did it take you to make that?” is the question most often asked. The honest answer? Weeks. And months. To create something original in stitched fabric – without a pattern, without a super clear direction – it does take a very long time as the piece builds upon itself before one’s very eyes. It’s as though the piece has its own end in mind and you are just along for the ride.
And unlike paint that one can joyfully swath onto a canvas with immediate results, that moment of inspiration is delayed through the process of finding the correct colored fabric, cutting it, stitching it then ironing it and hoping it is what you see in your mind’s eye. And if painting or dying fabric is involved, add another 5 or so steps. Creating art with stitched fabric takes at least 5 times as long as painting a canvas of the same size.
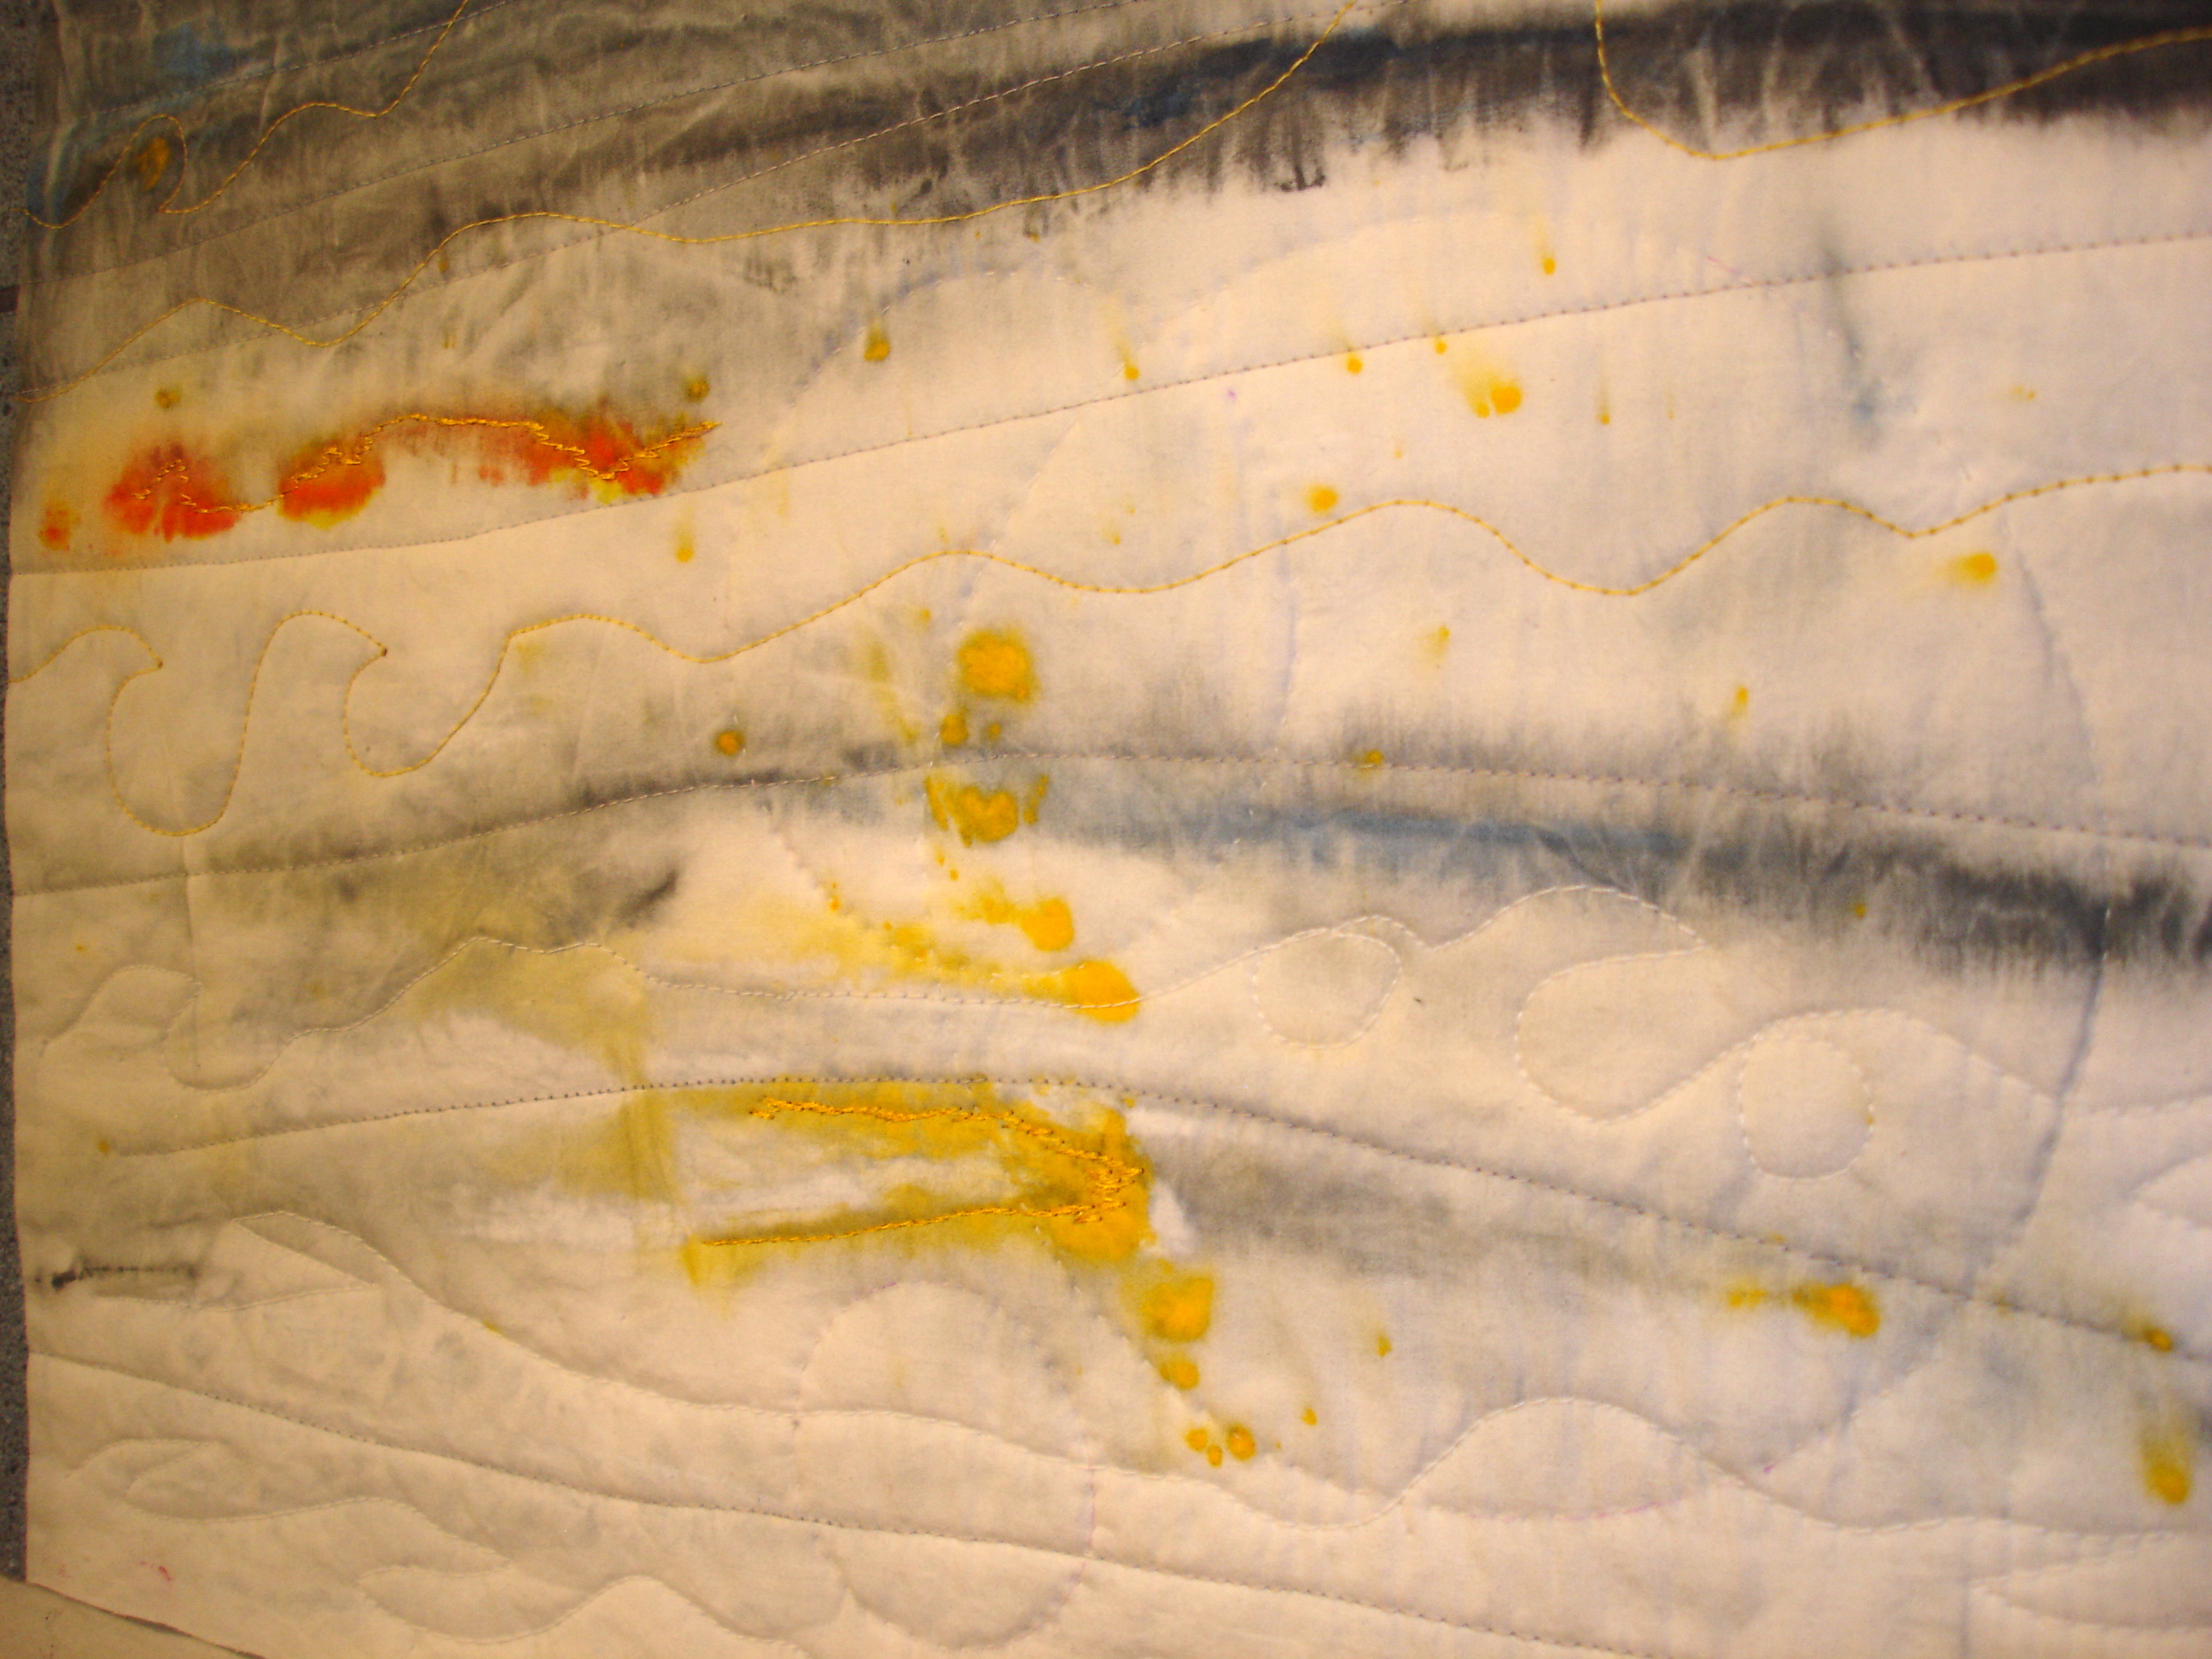
Here is the process used to create “Jonquils at Sea” above.


The Inspiration. In strolling thru my bins of fabric color one day, my eyes stopped at the blue grey. That got my attention; I could see that color mixed with the complimentary colors of yellow and orange.
The design. I walked around that bin in the studio for several days waiting for the color inspiration to create an image in my mind of how it should take form. Suddenly I had it, so sketched out the form and the proportions quickly while the actual details I held in my mind. I like my finished work to be slightly off-square thus one side longer than the other. I use the golden ration to decide where to divide that “square” into parts. 28″ ÷ 1.61803 = approx. 17″; 28″ – 17″ = 11″…….. 25″ ÷ 1.61803 = approx. 15″; 25″ – 15″ = 10″.

The mechanics. I thought for a while on how I would execute what I saw in my mind’s eye on that left hand section, I envisioned variegated patterning with little rectangular splotches of color set into that grey. I dove in trying a technique I had used before, strip piecing that then gets cut into random curved lengths that are pieced and stitched as I go, deciding what the color and placement should take place after the last one has been done, pausing and pondering after each strip to create “intentional irregularity”.


Because of the very small piecing (some finished splotches of color are only 1/4″ square!) it makes for bulky bundles of seams. I random pressed them with a hot iron and steamed to be the most flat; some inward, some outward. It makes no difference with quilting in the end.For the top right hand section I used my random square technique of simply starting with a square or rectangle (in this case the white) then piecing around it like a log cabin block, only I don’t cut the strips square so it creates a off-centered look. I consciously work at alternating values and colors so that the over-all effect looks evenly patterned. Again, this takes time because each piece needs to be made to fit up against the former one creating sections of blocks that are then sewn together. Most of the fabrics used were hand-painted or hand-dyed at another time, each one taking hours/days as color is layered and dried, layered and dried, then set, washed and cured.

I had envisioned the lower right hand section to be hand painted section. I did not have any pre-painted fabrics so I custom-created a piece just for this section. I mixed the paint to match the fabrics already used, then made several tries until I got what I wanted. The process for this type of finish is to paint the board then brayer the fabric into it. The pieces that did not make the cut will be used later in something else just like the pieces I used in the yellow/orange section.


When the quilt top is finally finished and pieced I then create a sandwich of plain colored backing with “bat” in between. I hold it together with curved safety pins. I then begin the process of stitching the layers together with quilting. I used my own techniques; some to mimic the look of more paint splotches, some to reinforce the design and some to add visual interest. Most of this was done by machine but a bit was also done by hand.
Once the stitching is complete the quilt is stretched over canvas stretchers bars and finished with a paper backing like a finished painted canvas. Whew. Complete.
Gorgeous, Jane, and such fun to get a ‘peek behind the curtain.’ 😉
Thank you Lori!
Beautiful, Jane- so thoughtfully done, as always. Would you like to meet for coffee soon? We’re away July 6th through 22nd, so either before or after?
Hoping you’re well! Beth
Beth Frede Creative Revelations – Discover Yourself Through Art for creatives, introspective women Web: http://www.Creative-Revelations.com Facebook: http://www.facebook.com/CreativeRevelations Phone: (603) 770-6373
Claim your free gift: Three Simple Shifts to Ignite Your Extraordinary Life!
Wonderful combination, one of my favorites — your terrific eye for color on full display here!
Thank you for those compliments!